

Easter decor in my home is scarse. I may be ready for a new house, but that's no reason to just give up on decorating the one I am fortunate to have right now. Therefore, I shopped my favorite place (yep, Dollar Tree) for some treasures to be unveiled. Here's what I managed to find and throw together for less than $6 bucks...
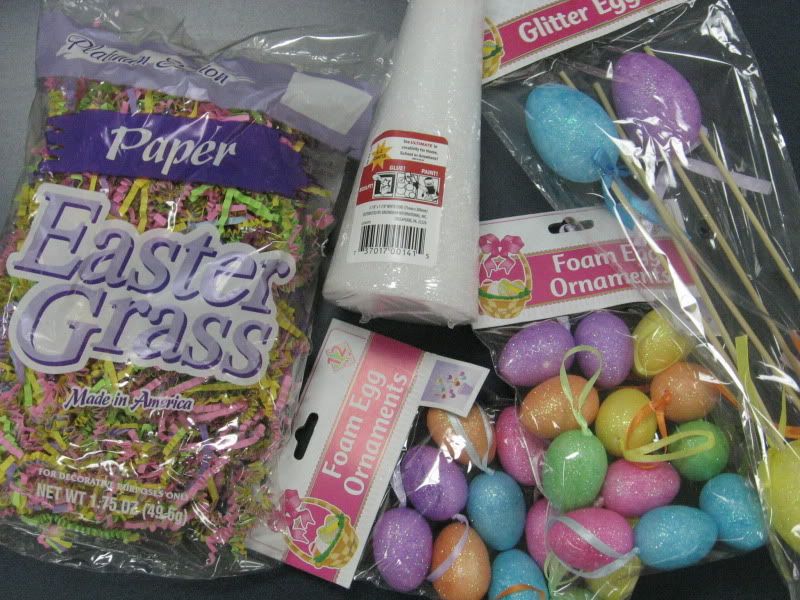
foam cone (I made two)
easter grass
small foam decorative easter eggs (these were egg ornaments I removed the hanger from)
foam decorative easter eggs on a stick
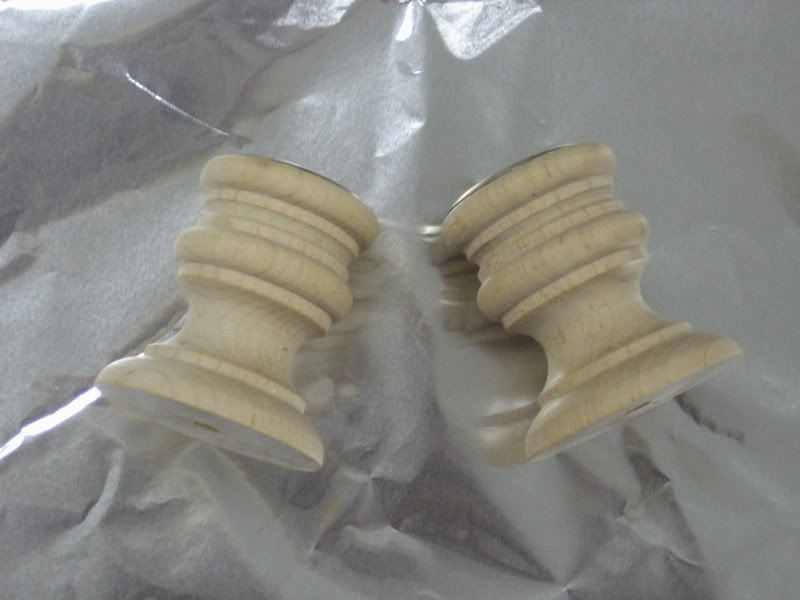
wooden thread spool, candle stick holder, etc (to be the base of your tree, if you want one)
paint (if you have a base for your tree and want to color it)
glue gun
spray adhesive
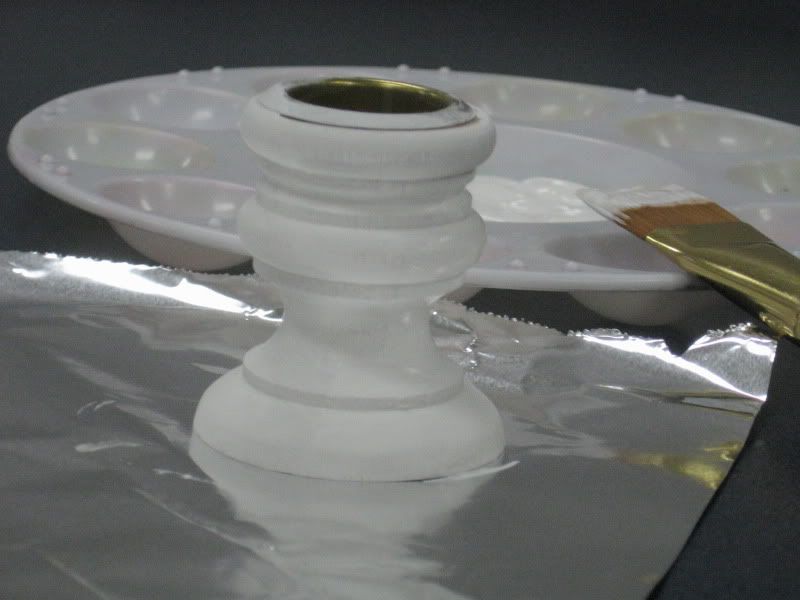
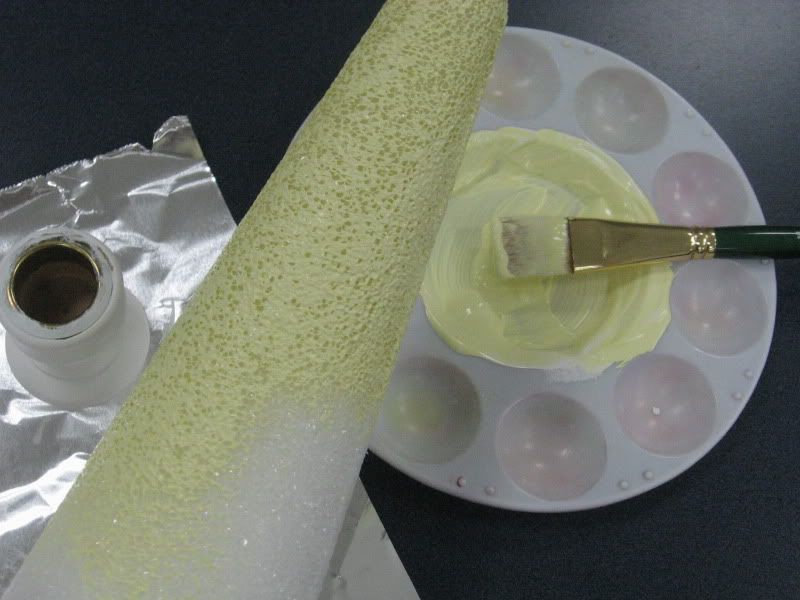
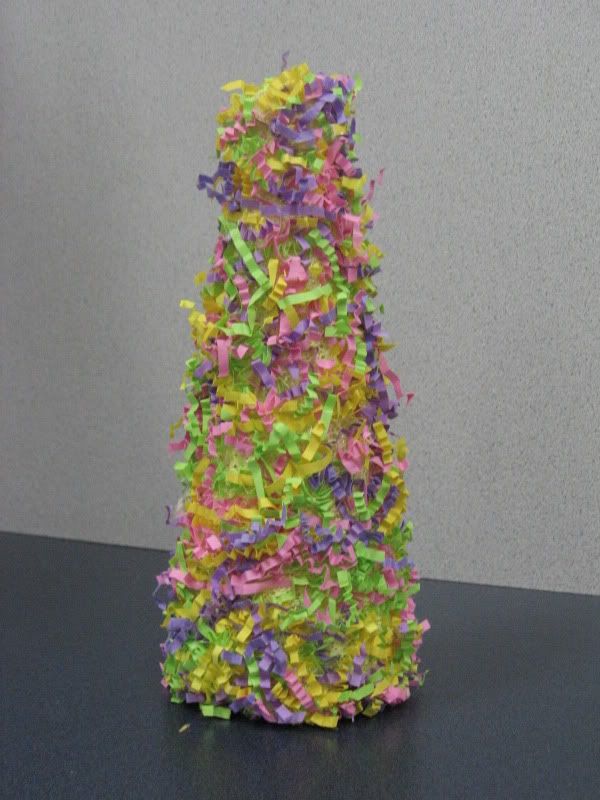
If you are going to put bases on your trees, give them a couple coats of paint and let them dry while you paint the foam cones. I chose to color the cones, first because I didn't originally plan to have them be covered so heavily in easter grass, but more so because I thought the bright white would peek out more than the easter yellow would (regardless of the covering). At this point, with my materials still wet from paint, I whipped out the blow dryer and sped up the process. Hush now, I'm impatient.
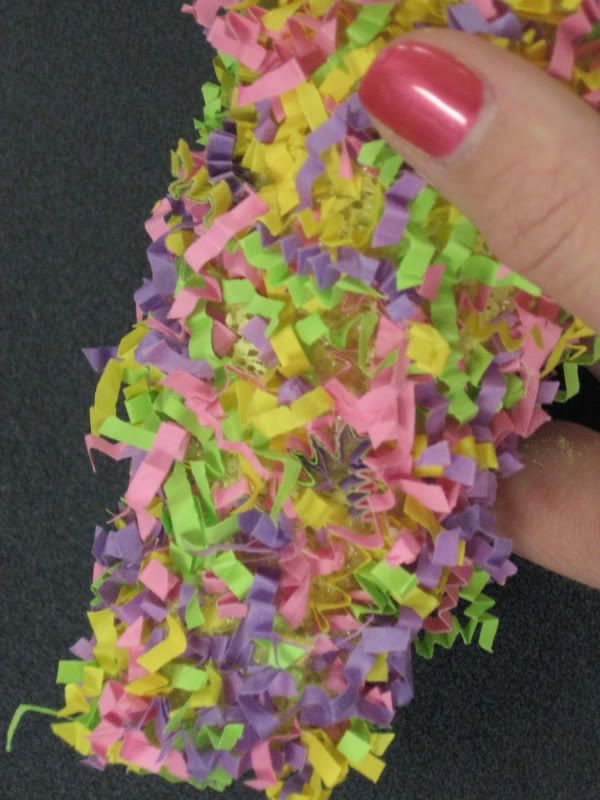
The next step was to cover the trees with the easter grass. I fluffed the grass all up before gluing it down. Why? I don't know. Probably because it's been a dreadfully cold and snowy winter here in Missouri and I haven't ran my hands across any grass in months! Back to the project. Remember, I thought a thin layer was where I would stop, and then put eggs all over the tree. Here's what one layer looked like...
Once the grassy tree was done, I started placing toothpicks into the eggs and sticking them into the base. I picked out two of the larger eggs that were already on sticks, and poked them through the top. The last step of the project was to glue the tree to the base that I had painted white. A lovely pair of "egg"cellent Easter trees!

If you re-create this project or one similar, please share a post or link up!
No comments:
Post a Comment