Showing posts with label Gettin' Crafty. Show all posts

Wednesday, March 16, 2011

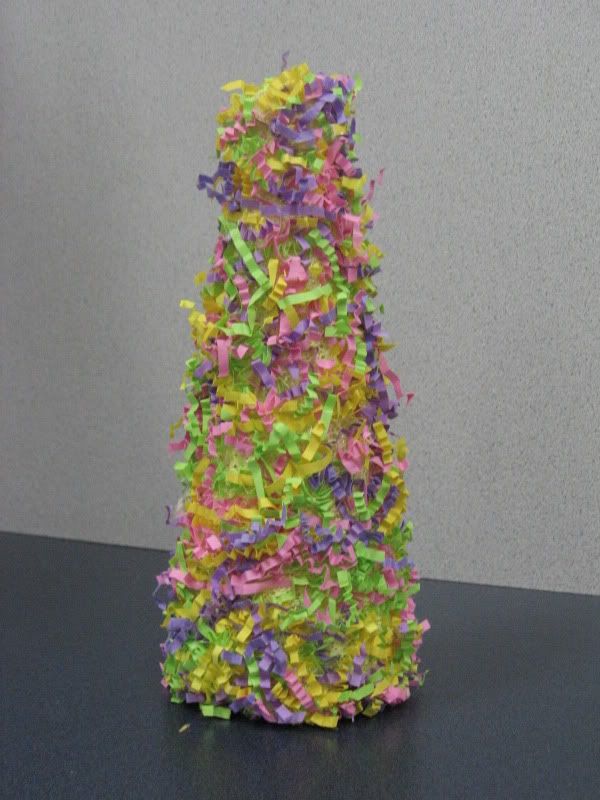
"Egg"cellent Easter Tree


Easter decor in my home is scarse. I may be ready for a new house, but that's no reason to just give up on decorating the one I am fortunate to have right now. Therefore, I shopped my favorite place (yep, Dollar Tree) for some treasures to be unveiled. Here's what I managed to find and throw together for less than $6 bucks...


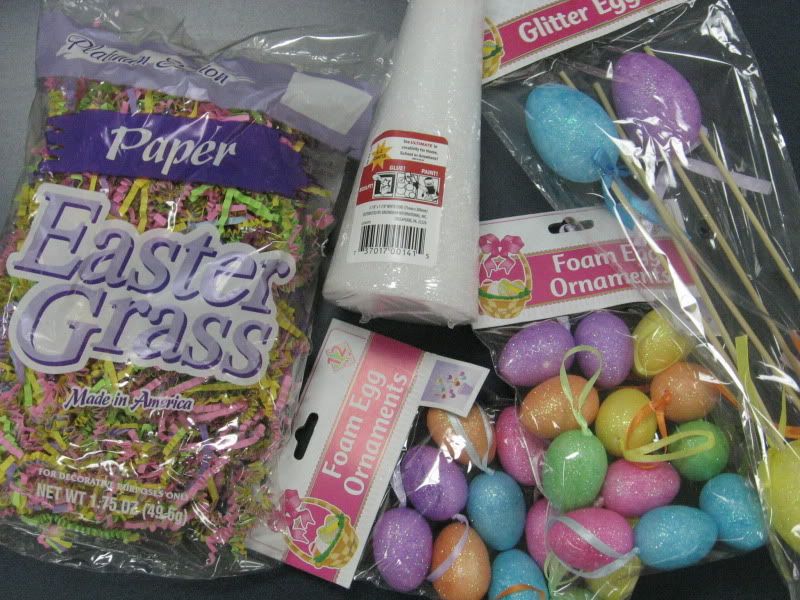
Needed Supplies
foam cone (I made two)
easter grass
small foam decorative easter eggs (these were egg ornaments I removed the hanger from)
foam decorative easter eggs on a stick
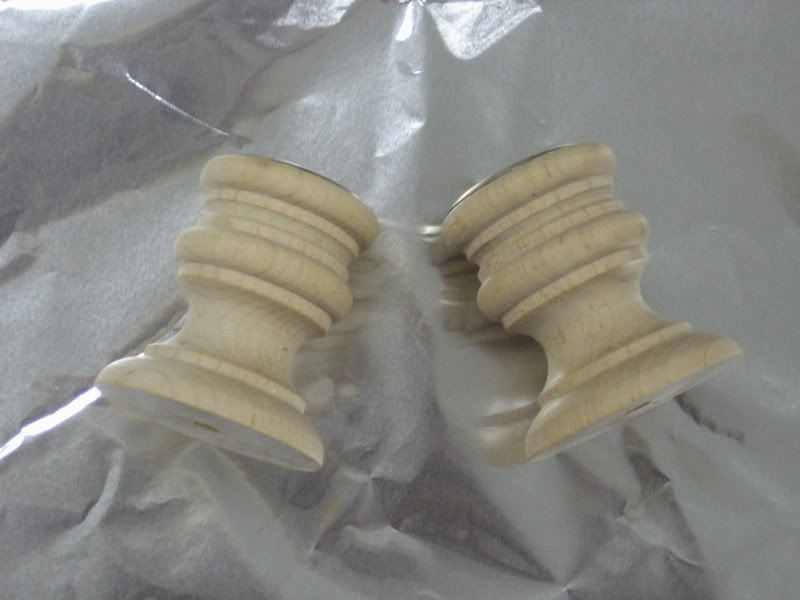
wooden thread spool, candle stick holder, etc (to be the base of your tree, if you want one)
paint (if you have a base for your tree and want to color it)
glue gun
spray adhesive
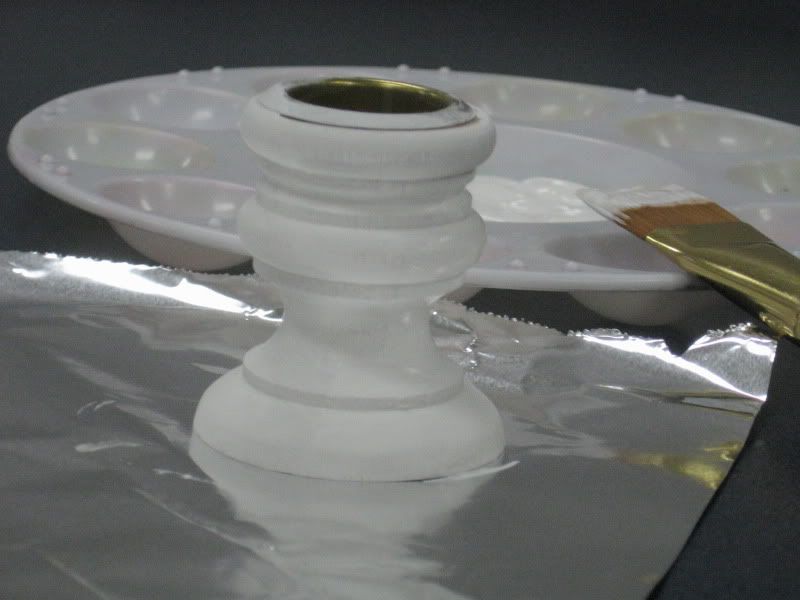
I totally went at this project without any instruction or inspiration. It came together as I went. Originally, I planned to cover the entire cone with the smaller eggs, but when I got the easter grass layer down I loved the look of it. So, I went with this plan...


If you are going to put bases on your trees, give them a couple coats of paint and let them dry while you paint the foam cones. I chose to color the cones, first because I didn't originally plan to have them be covered so heavily in easter grass, but more so because I thought the bright white would peek out more than the easter yellow would (regardless of the covering). At this point, with my materials still wet from paint, I whipped out the blow dryer and sped up the process. Hush now, I'm impatient.
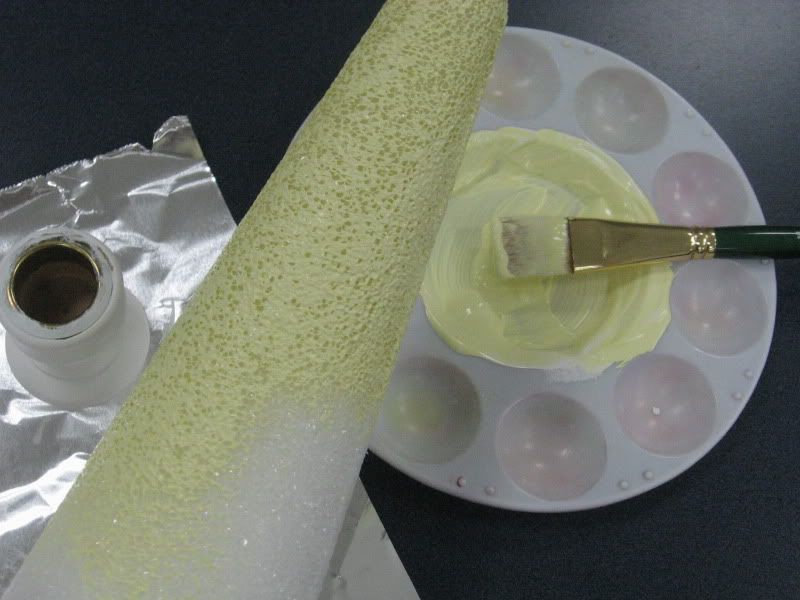

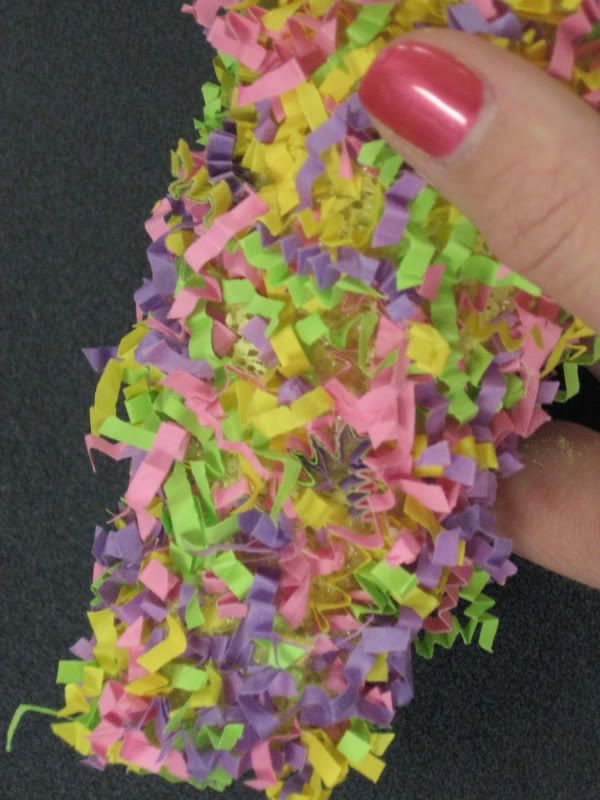
The next step was to cover the trees with the easter grass. I fluffed the grass all up before gluing it down. Why? I don't know. Probably because it's been a dreadfully cold and snowy winter here in Missouri and I haven't ran my hands across any grass in months! Back to the project. Remember, I thought a thin layer was where I would stop, and then put eggs all over the tree. Here's what one layer looked like...  

                                                                     
See? See the easter yellow paint peeking through? That would have been fine if I would have went with my original plan. I quickly realized when I started mapping out the egg placement, that I wanted a different look. This is when I decided to add a couple more layers of the grass and omit the all over egg look. I trimmed off any scraggly grasses before each additional layer. Yes, scraggly is a word. No, don't bother looking it up. Just trust me! By the third layer, the grass was very small and fine because it was what was being trimmed off the previous layer. Because of this, I used spray adhesive for the second and third layers of grass.

Once the grassy tree was done, I started placing toothpicks into the eggs and sticking them into the base. I picked out two of the larger eggs that were already on sticks, and poked them through the top. The last step of the project was to glue the tree to the base that I had painted white. A lovely pair of "egg"cellent Easter trees! 


If you re-create this project or one similar, please share a post or link up!

Saturday, March 12, 2011

Hi. My name is Brooke, and...

Without a doubt, I am a Dollar Tree junkie. If there were a group called DTAOA (Dollar Tree Addicts of America), I would be their worst case scenario of a groupie. Week after week, I walk the junk lined aisles looking for treasure. Many times I spend thirty minutes or more browsing...only to leave empty handed and heavy minded. Within hours, I go back to retrieve what can't be erased from my thoughts. I'm telling you. Addict. There, I said it. This addiction, however, has enabled me to spread my creative wings even when I've only got a few bucks to spare. You'll find that many of the projects I showcase are adorned with, or completely consist of, Dollar Tree items. That's budget decor at its best...for new items anyway.


My offspring are becoming junior members of DTAOA. They love the place. At Christmas time, Robert and I took them all in there to shop for each other. It was the cutest thing you ever saw! They were supposed to pick one thing for each of their sisters. We didn't care what it was because we knew we were out of there for less than $10. Money didn't become and issue, but the gift shopping certainly did. It's hard to be little and buy your sisters gifts. Lillie couldn't bear the idea of purchasing any of the the "amazing", "cool", "awesome" merchandise for anyone other than herself. Needless to say, she left still dying to have the Dora stickers that I secretly snuck in the cart when she turned her head (a stocking stuffer from Santa). "Mom, I Nnnnneeeeeeeeeeeed those Dora stickers!" Now, anytime there is a gift giving holiday upon us, she'll say, "Well, let's just go to the Dollar Tree and get (fill in the blank)." That's my girl...I couldn't be prouder.


If you ever stroll past me in the aisles of a Dollar Tree, determination and motivation plastered on my face, please just wave and holler a quick "hi". If we stopped to chat for long, it may destroy the creative juices flowing in the piping of my brain. That would be devastating. There are some amazing things to be purchased, then displayed or repurposed, and I'd hate for it to go to waste. Yes. My name is Brooke, and I'm a Dollar Tree addict...

Thursday, March 10, 2011

My Crafting Bucket List

Shame on all you crafting blogs out there! You have captivated me and force me to think about the many projects I'd like to complete...like, tomorrow. I have such a long list of projects I've run across and want to try out, but not enough time to complete them...while they are fresh in my mind anyway. So, I've decided to post my "bucket list" of craft projects I hope to complete soon. I will mark them off my list as they are completed and post a tutorial or feature of the finished product. The project titles below are links to the sites where the original design (or at least where I found the design) resides, so check them out if they sound interesting. Who knows, maybe some of my readers will become captivated too...

1. Canvas Lined Storage
2. Grapevine and Burlap Wreath
3. Wooden Window Valances & Another Wooden Window Valance Tutorial
4. Spa Towel Wrap
5. Old Window Frame Photo Display
6. Tipsy Pots
7. Burlap Flower and Ribbon Wreath
8. Curling Ribbon Wreath I DID IT!
9. Lighted Tulle Wreath
10. "EAT" Sign
11. Vintage Childrens Book Pages Mirror
12. Yarn Ball and Ornament Wreath
13. Baby Grass Spring Wreath
14. Easter Tree
15. Rolled Fabric Flowers
16. Vintage Mantle Headboard
17. Tiered Trays
18. Stylish Camera Bag

...the list continues to grow!

Monday, March 7, 2011

Aye, It's a Wee Green Wreath

You have to love the Irish. While studying abroad in Sweden during my college years, I was fortunate enough to make great friends with two lads from Ireland. Luke and Jerome. Way too much fun! Aye, they could down their pints. Cheers to you Luke and Jerome, on this fine St. Patrick's Day that nears...


Absolutely every part of this wreath (ok, except the scrap fabric I used to wrap the wreath form) came from my "place"...The Dollar Tree. It's the first place I look for materials when I've got a project in mind. Ok, ok...maybe that's because there's no Hobby Lobby or Michael's here in the 'Burg. If there were, Robert would buy stock in the companies just so he could recoup some of the money I'd spend. Back to my "place", it's where you will find the necessary materials to work up your own festive St. Patty's decor.

Materials Needed
wreath form
fabric to wrap the form
green mix curling ribbon (I bought 4 of the pre-curled packages of 3 present toppers)
white curling ribbon (again, 4 of those pre-curled packages)
wooden St. Patrick's day sign
glue gun

My apologies for not taking pictures for a tutorial. This project was done with my gal pals during a craft get together. The final product is all you get. I'll walk you through it though...super simple. First, wrap your form with the fabric and secure at the beginning and end with your hot glue. Separate all the ribbon bunches from the paper backing, but leave them stapled. Now, randomly glue the bunches down on your form. Yes, of course I made marks all the way around...trying to be even with my measurements. Do you have to be obsessive like me? Absolutely not! That would be crazy of you. Leave the neuroticism to me. Now that all of your curling ribbon is glued, you'll want to mix and fluff your ribbons together. There's no method to this. It's like tousling your hair...just mix and fluff until you love the way it looks. I plan to go back and glue down some of the curls or use an adhesive spray to "set" the look because a day with a slight breeze, and some curls are now hanging down more than I'd like. Whether or not you do this step is totally your call. The last step is to add a hanger if you desire and hang the wreath over your wooden sign. A quick, budget friendly way to add in some St. Patrick's day decor to your home. Cheers!

If you make one of your own St. Patrick's Day wreaths like mine or similar, please share by posting a picture or linking up!

Friday, November 19, 2010

Oh for namesake

I made these namesake gifts for two very special people. One was my sister and the other a very good friend. I forgot how much I enjoyed my crafty creativity up until about a month or so ago. I'm ready to get back in the saddle and get to work. Like what you see? They are for sale...obviously not these though! LOL!


Thursday, November 11, 2010

Tutu Cute!

Here's a sneak peak at my lovely ladies' Christmas outfits :) I'm so loving that I started making tutu's! Look for them to wear one at every occasion...sorry girls...Mommy loves you!

Saturday, October 30, 2010

Dora and her crew

The spookiness is in the air and my girls are rocking the costumes I worked so hard on. They were the talk of the downtown trick-or-treat! I just wish they would have lasted a bit longer than they did...Dora wasn't enjoying her wig as much as her spectators were, and Map took a few falls...luckily she was padded and rolled!

Dora and her "Crew" Trick-or-Treating downtown Warrensburg

My sweet "Baby Boots" enjoying the downtown Trick-or-Treat

Lillie Trick-or-Treating at her Preschool

Saturday, October 23, 2010

Baby Wearing

It's no secret that I am an ultimate fan of attachment parenting. Robert and I have always loved our "snuggly", but we've never bought or received a baby sling. A great friend, Jennifer, let me try hers out after I had Claira, but she was no fan of the sling...it put her in the best nursing position, so all she was interested in when in the sling was nursing! I recently thought about the sling after seeing posts about them on my babycenter board. Of course I started yearning for one. So, what did I do? Yep. That's right. I got on the trusty sewing machine and whipped out one by hand! Here's baby Audrey enjoying this morning's UCM Homecoming parade! 


Interested in your own custom baby sling? Leave a comment and I'll be happy to contact you concerning fabric and size. These slings sell for $40-$50 dollars in stores and online. I'd charge a mere $20 for one that you provide the fabric for or $25 for one that I provide the fabric for. Babywearing really is a great way for keeping your baby close and snuggly...just like being in the womb!

Thursday, October 21, 2010

A new project anyone?

I love my job...the one that pays me with dollar bills, that is. *grins* I get to be super creative in my planning of what projects, sewing and cooking, the students will complete. Lately I've been working on a new sewing project for my students...tiny totes...uber cute! They are made using only 2 fat quarters of fabric...lucky me and my students, I scored about a thousand or more free ones from my man, Paul, at Fabri-Quilt. Check out how cute my "testers" are...


I'm also teaching a community education class about rag quilting in the evenings for the next few weeks. Of course I had to have a "tester" to show my adult students. My 8th grade kiddos helped me make this one. It is twin size and super snuggly! I sure have some cool and talented students. *smiles with pride*


Want to try making your own project? Here are the links for instructions to both...good luck!